
Office of the Controller 1
Rev September 2019
Questions? Contact: ctl-auxiliaryaccoun[email protected]
OMNI AR/Billing: Recurring & Installment
Billing
Detailed Business Process Guides – ABILL17
This document outlines how to enter recurring and installment bills. Recurring and installment bills allow
you to reproduce bills and generate invoices by using a template. Recurring bills are used to replicate a
bill monthly based on the template. This should be used when a customer will be charged an exact amount
each month. As opposed to installment billing, which breaks down an amount and bills in segments.
Installment segments can be setup with the total amount due divided equally, by percentage, or according
to a custom design. Installment billing should be used when the amount will vary from month to month.
IMPORTANT: Installment billing can only be used with external customers. The design functionality of
OMNI Financials does not allow installment billing on an internal customer (department).
Recurring Billing
Creating a Recurring Bill Template
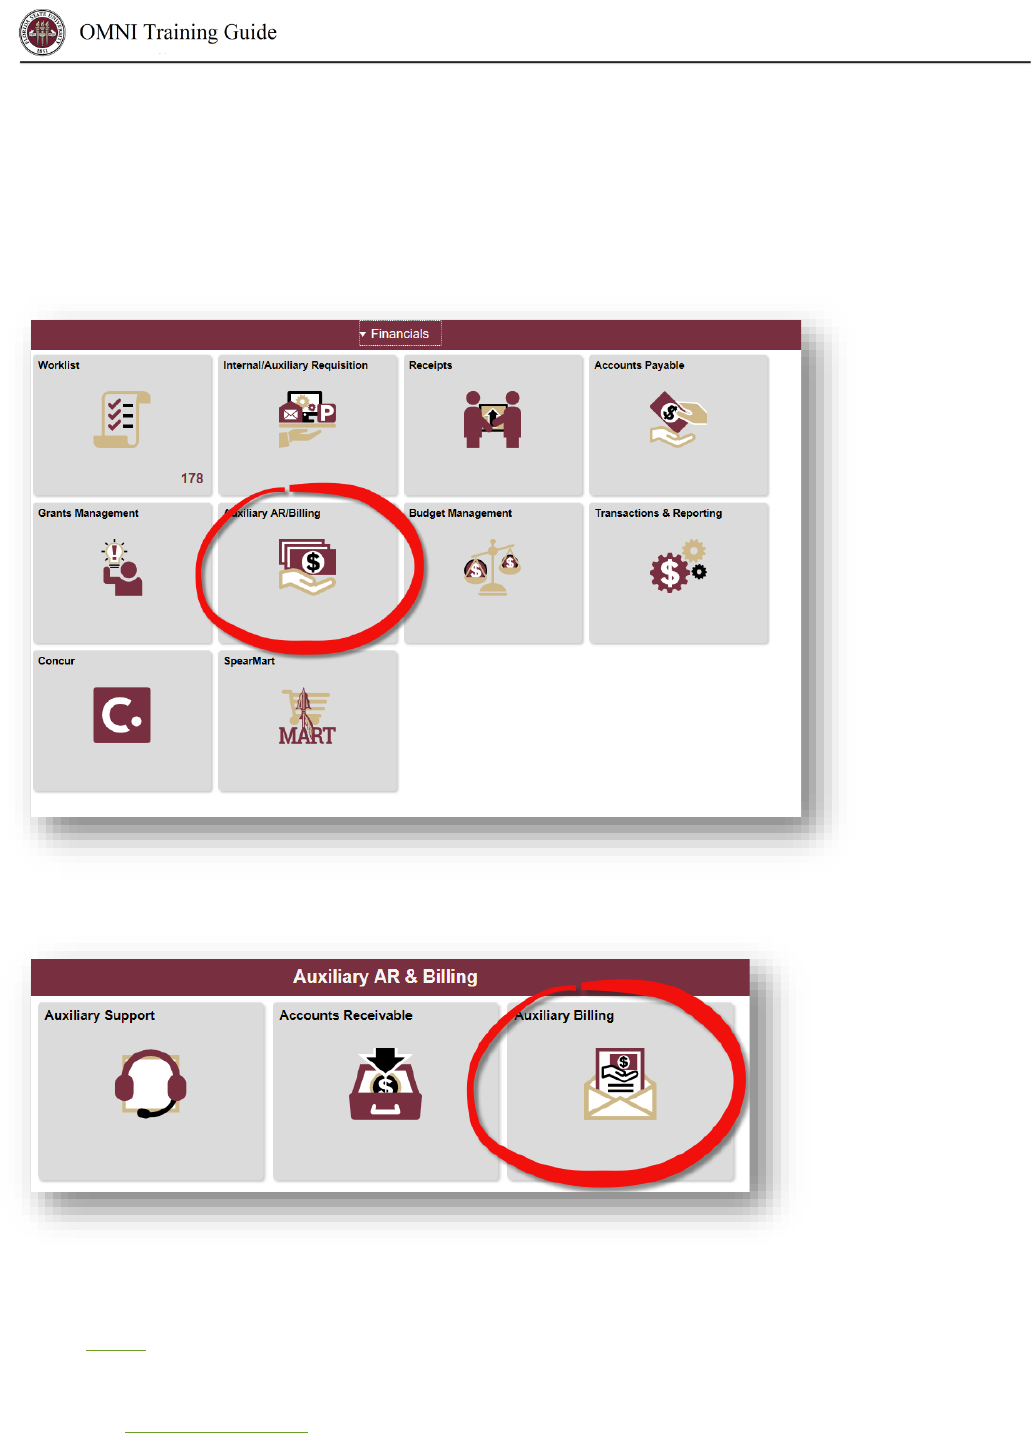
1. Navigate to the Auxiliary AR/Billing tile
2. Navigate to the Auxiliary Billing tile

Office of the Controller 2
Rev September 2019
Questions? Contact: ctl-auxiliaryaccoun[email protected]
3. Navigate to the Manual Bill Entry (Standard) page and enter billing data. For instructions regarding
creating bills manually, see the business process guide for creating online standard bills (ABILL2
).

Office of the Controller 3
Rev September 2019
Questions? Contact: ctl-auxiliaryaccoun[email protected]
4. Once you have completed entering billing data, change the frequency of a bill in NEW status to
Recurring and save. Also, please ensure the cycle id is set to AUX MONTH. Once the frequency is
set, this bill becomes the template.
5. Setup up the recurring bill schedule
a. On the Header – Info 1 tab, click the recurring schedule link
i. Once there, select the dates for the recurring bill to run and then click to auto-
generate button to populate the schedule. Please leave the invoice date blank,
this will be generated during the invoicing process.
Please note that the alternative method is to create each bill manually on the
schedule.

Office of the Controller 4
Rev September 2019
Questions? Contact: ctl-auxiliaryaccoun[email protected]
*Note* Please ensure that the “Use Header Dates for Lines” box is checked on the schedule.

Office of the Controller 5
Rev September 2019
Questions? Contact: ctl-auxiliaryaccoun[email protected]
ii. Once your schedule is set up and saved, you’ll need to set the template bill to
Ready status.

Office of the Controller 6
Rev September 2019
Questions? Contact: ctl-auxiliaryaccoun[email protected]
iii. Save the template once in Ready status.
IMPORTANT: Once the bill template is in ready status, bills will be automatically invoiced
monthly during the bill cycle for the remainder of the schedule. If these bills require SRA
approval, SRA will convert these bills (recurring generated bills not the template bill) to RDY
once approved.
b. How do I know if a bill needs to be reviewed by SRA?
i. Review the PO information to see whether the PO is charging a sponsored project
(begins with fund 5, includes project ID).
Office of the Controller 7
Rev September 2019
Questions? Contact: ctl-auxiliaryaccoun[email protected]
Installment Billing
IMPORTANT: Installment billing can only be used with external customers. The design functionality of
OMNI Financials does not allow installment billing on an internal customer (department).
Creating an installment bill template
1. Navigate to the Auxiliary AR/Billing tile
2. Navigate to the Auxiliary Billing tile
3. Navigate to the Manual Bill Entry (Standard) page and enter billing data. For instructions
regarding creating bills manually, see the business process guide for online standard bills
(ABILL2
).

Office of the Controller 8
Rev September 2019
Questions? Contact: ctl-auxiliaryaccoun[email protected]
4. Once you have completed entering billing data, change the frequency of a bill in NEW status to
Installment and save. Also, please ensure the cycle id is set to AUX MONTH. Once the frequency
is set, this bill becomes the template.
5. Setup the installment bill schedule
a. On the Header – Info 1 tab, click the installment bill schedule link

Office of the Controller 9
Rev September 2019
Questions? Contact: ctl-auxiliaryaccoun[email protected]
b. Once there, select the appropriate installment plan by clicking the magnifying glass.

Office of the Controller 10
Rev September 2019
Questions? Contact: ctl-auxiliaryaccoun[email protected]
c. Next, select the start date and generate the installment bill plan schedule.

Office of the Controller 11
Rev September 2019
Questions? Contact: ctl-auxiliaryaccoun[email protected]
i. To complete the setup of your installment bill plan schedule, click the
Installment Billing Schedule 2 tab and populate the invoice date field for each
installment bill.
IMPORTANT: For all internal and bills that will be invoiced during the bill cycle, the invoice date
selected should match the scheduled invoice date of the current month’s bill cycle. To locate the
scheduled bill cycle invoice date, please utilize the current fiscal year’s bill cycle calendar found here
on the Controller’s Office website.

Office of the Controller 12
Rev September 2019
Questions? Contact: ctl-auxiliaryaccoun[email protected]
ii. Once your schedule is set up and saved, you’ll need to set the template bill to
Ready status.

Office of the Controller 13
Rev September 2019
Questions? Contact: ctl-auxiliaryaccoun[email protected]

Office of the Controller 14
Rev September 2019
Questions? Contact: ctl-auxiliaryaccoun[email protected]
iii. Save the bill template, once in Ready status.
IMPORTANT: Once the bill template is in ready status, bills will be automatically invoiced monthly
during the bill cycle for the remainder of the schedule. If these bills require SRA approval, please
ensure the generated installment bills (not the template) are left in NEW status. SRA will convert
these bills to RDY once approved.
d. How do I know if a bill needs to be reviewed by SRA?
i. Review the PO information to see whether the PO is charging a sponsored
project (begins with fund 5, includes project ID).
END
